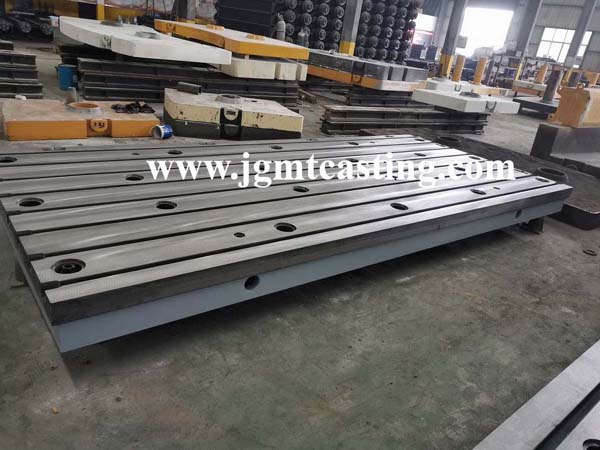
1. The standard of the testing surface plates: manufactured according to the GB7947-1999 standard.
2. The shape and structure characteristics of the testing surface plates: The shape of the working surface is divided into rectangle, square or round. The working surface can be processed with V-shaped, T-shaped, U-shaped grooves, round holes, and long holes for different test work needs.
3. The application of the cast iron testing surface plates: It is specifically suitable for the power experiment of machinery and engine, equipment debugging, has good plane stability and toughness, with T-shaped groove on the surface, which can be used to fix the experimental equipment. At the same time, it is suitable for the inspection of various products, the cast iron testing surface plate is used to check the dimensional accuracy or behavior deviation of the parts, and the precision scribing testing surface plate is also an indispensable basic tool in mechanical manufacturing.
4. The specifications of the cast iron testing surface plates are: 200*300—4000*9000mm.
Testing surface plates debugging method:
1. Lay the platform flat on the ground, adjust the stability of the four corners, and fine-tune the movable feet until it is stable.
2. Place the plate on the support and adjust the position of its fulcrum, as close to the center as possible symmetrical.
3. Preliminarily adjust the supporting feet to make the supporting points evenly stressed.
4. Use a level measuring instrument (spirit or electronic level) to detect the level of the flat panel and fine-tune the relevant fulcrum until it meets the horizontal position.
5. After the initial adjustment is qualified, let it stand for 12 hours before copying. If it is unqualified, it needs to be adjusted again. If it is qualified, it can be used.
6. Periodic inspection and maintenance according to the actual field environment after use.
To know more about our cast iron surface plates, pls visit our web www.jgmtcasting.com.


